Australia
is full of amazing artists, we need to get behind them!
Back
in the 80's a man named Gary Dellar produced a comic book anthology
showcasing some of the most amazing writers and artists in Australia.
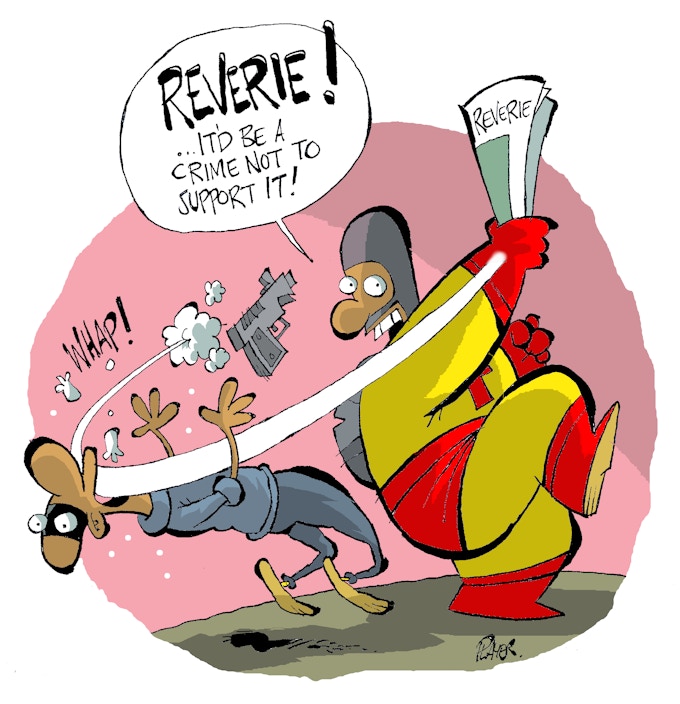
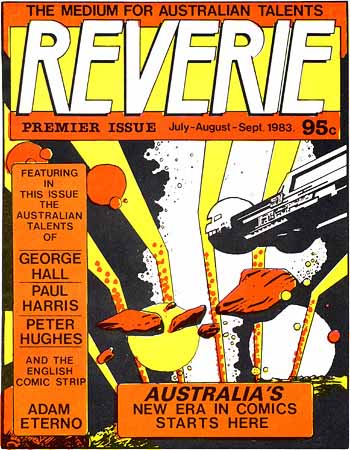
The publication was called Reverie.
Gary
himself, is a great writer and artist, and with the help of some of
our amazing comic book talent, made this publication an amazing
International success.
Reverie,
also helped start the international career of some of the best in
Australia.
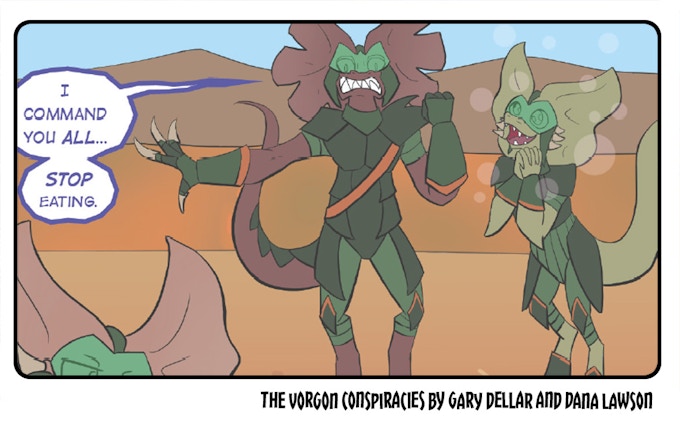
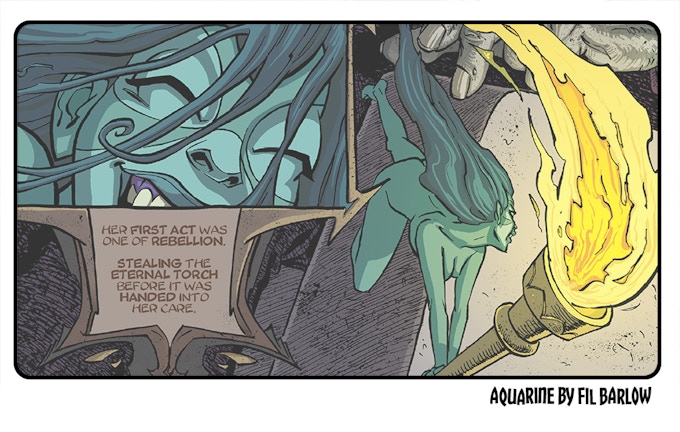
Two
of the big names that contributed to the publication are Fil
Barlow and Michal Dutkiewicz
Fil
Barlow, is now an artist, cartoonist, writer, production designer
currently based in Los Angeles and he became the creator of
Zooniverse.
Michal
Dutkiewicz, is a professional illustrator and comic book artist based
in Adelaide, South Australia, Michal went on to work for DC
Comics
Gary,
with the help of George Hall (another exceptional writer/artist who
also contributed to Reverie in its first run), have decided it's time
to show off some new talent, there is plenty more to choose from in
Australia.
They
have spent a lot of time and effort reviving Reverie, and have many
new and exciting stories with a new generation of talent, along with
some of the originals.
This
is an exciting time for Australia, please get behind it by making a
pledge in the kickstarter and spreading the word with everyone you
know.
With just one week to go, you might want to make sure you have got all the items you need. But if you're ordering it, and it hasn't come in yet, don't worry, the first part is easy and quick. You'll catch up in no time. Of course the main thing you'll need is the yarn (or wool, as we call all fibers in Australia). The original pattern was designed with 8 ply yarn, which is DK in US. I realize it's not easy to get this weight in America, so if you don't want to bother ordering it, you can just use Aran weight, worsted weight (10 ply), you'll have a larger cushion, but it will be lovely. You could also use a finer yarn, or even thread. I'd love to see them done this way. I chose acrylic, because it's nice and cheap, easy to get in Australia, and it's so easy to wash and dry. It also blocks beautifully with steam. But if you prefer, you can use wool or cotton, or whatever your favorite fiber is. There are 4 colors in this pattern. I originally designed it with yellows eg. white, pale yellow, medium yellow, and a deep yellow. I have also made it with white, pale grey, darker grey, and black. You can use four shades of a color, or choose any four colors you prefer.
If you're using 8 ply acrylic, you will need approximately 120 grams of the palest color, and 100 grams of each of the other colors. You will also need a 3.25 mm crochet hook, and a 3.50 mm crochet hook. Or larger, or smaller, depending on your yarn
You might also want to familiarize yourself with these special stitches. (But they really aren't difficult)
Special
stitches used:
Front
Loop Only (FLO).
Work this stitch in the front loop only, leaving back loop free.
Back
Loop only (BLO). Work
this stitch in the back loop only, leaving front loop free.
Front
loop double crochet (fldc).
Front loop double crochet is a dc worked in the front loop only.
Back
loop double crochet (bldc).
Back loop double crochet is a dc worked in the back loop only.
Front
loop treble (fltr).
Front loop treble is a tr worked in the front loop only.
Back
loop treble (bltr).
Back loop treble is a tr worked in the back loop only.
Front
post double crochet (fpdc).
Front Post Double Crochet is worked around the front of the post of
the stitch on the previous round. Insert hook through the right front
and back out the left front, yarn around hook, pull through 2 loops.
Front
post treble (fptr).
Front Post Treble is worked around the front of the post of the
stitch on the previous round. Yarn around hook, insert hook through
the right front and back out the left front, yarn around hook, pull
through 2 loops, yarn around hook, pull through last 2 loops.
Front
post double treble (fpdtr).
Front Post Double Treble is worked around the front of the post of
the stitch on the previous round. Yarn around hook, twice, insert
hook through the right front and back out the left front, yarn around
hook, pull through 2 loops, yarn around hook, pull through another 2
loops, yarn around hook, pull through last 2 loops.
Back
post double crochet (bpdc).
Back Post Double Crochet is worked around the back of the post of the
stitch on the previous round. Insert hook through the right back and
back out the left back, yarn around hook, pull through 2 loops.
Back
post treble (bptr).
Back Post Treble is worked around back of the post of the stitch on
the previous round. Yarn around hook, insert hook through the right
back and back out the left back, yarn around hook, pull through 2
loops, yarn around hook, pull through last 2 loops.
Back
post double treble (bpdtr).
Back Post Double Treble is worked around the back of the post of the
stitch on the previous round. Yarn around hook, twice, insert hook
through the right back and back out the left back, yarn around hook,
pull through 2 loops, yarn around hook, pull through another 2 loops,
yarn around hook, pull through last 2 loops.
Don't be intimidated by these stitches, they're just basic stitches worked into different places.
I will be hosting a CAL (crochet-a-long) for this lovely cushion I have created
The
pattern utilizes a lot of back and front post stitches, as well as
some front and back loop work. Knowledge of overlay crochet will be
helpful What is Overlay Crochet? From http://www.lillabjorncrochet.com/p/overlay-crochet.html
"Overlay crochet is a relatively new technique. It was developed by an artist and fantastic jewelry maker Melody MacDuffee in the United States and first introduced in 2003. Melody MacDuffee started to spread her inventions and conducted lots of workshops for hundreds of crochet lovers.
Overlay crochet has its roots in Aran crochet. Though it may look a bit complicated and quite often is offered to advanced crocheters, in fact it uses ordinary crochet stitches, and only few special ones. To master this technique it is necessary to already know how to make a slip stitch, a chain, single, double and treble crochet stitches, how to increase the number of stitches, how to make a long stitch.
What is interesting about this technique is that with changing colors on every round it is possible to achieve an effect as if the colors are actually changed after every few stitches."
This
cushion starts with a mandala created to look like a sunburst.
It
is then encircled with a border, then changed into a square with a
similar border
The
back is made as a square with very simplified rays made with overlay
crochet
The
pattern will be available in sections. There will be 11 sections, a
new one available each week, starting on February 13th.
A new file will be added to the original file each week (Ravelry will
send you a notification), at the end of the CAL, the whole CAL can be
downloaded as one file
Clue
1: Monday, February 13th Clue
2: Monday, February 20th Clue
3: Monday, February 27th Clue
4: Monday, March 6th Clue
5: Monday, March 13th Clue
6: Monday, March 20th Clue
7: Monday, March 27th Clue
8: Monday, April 3rd Clue
9: Monday, April 10th Clue
10: Monday, April 17th Clue
11: Monday, April 24th
The
pattern will be half price while the CAL is going. After the CAL is finished, the pattern will
be available at full cost