How to Block
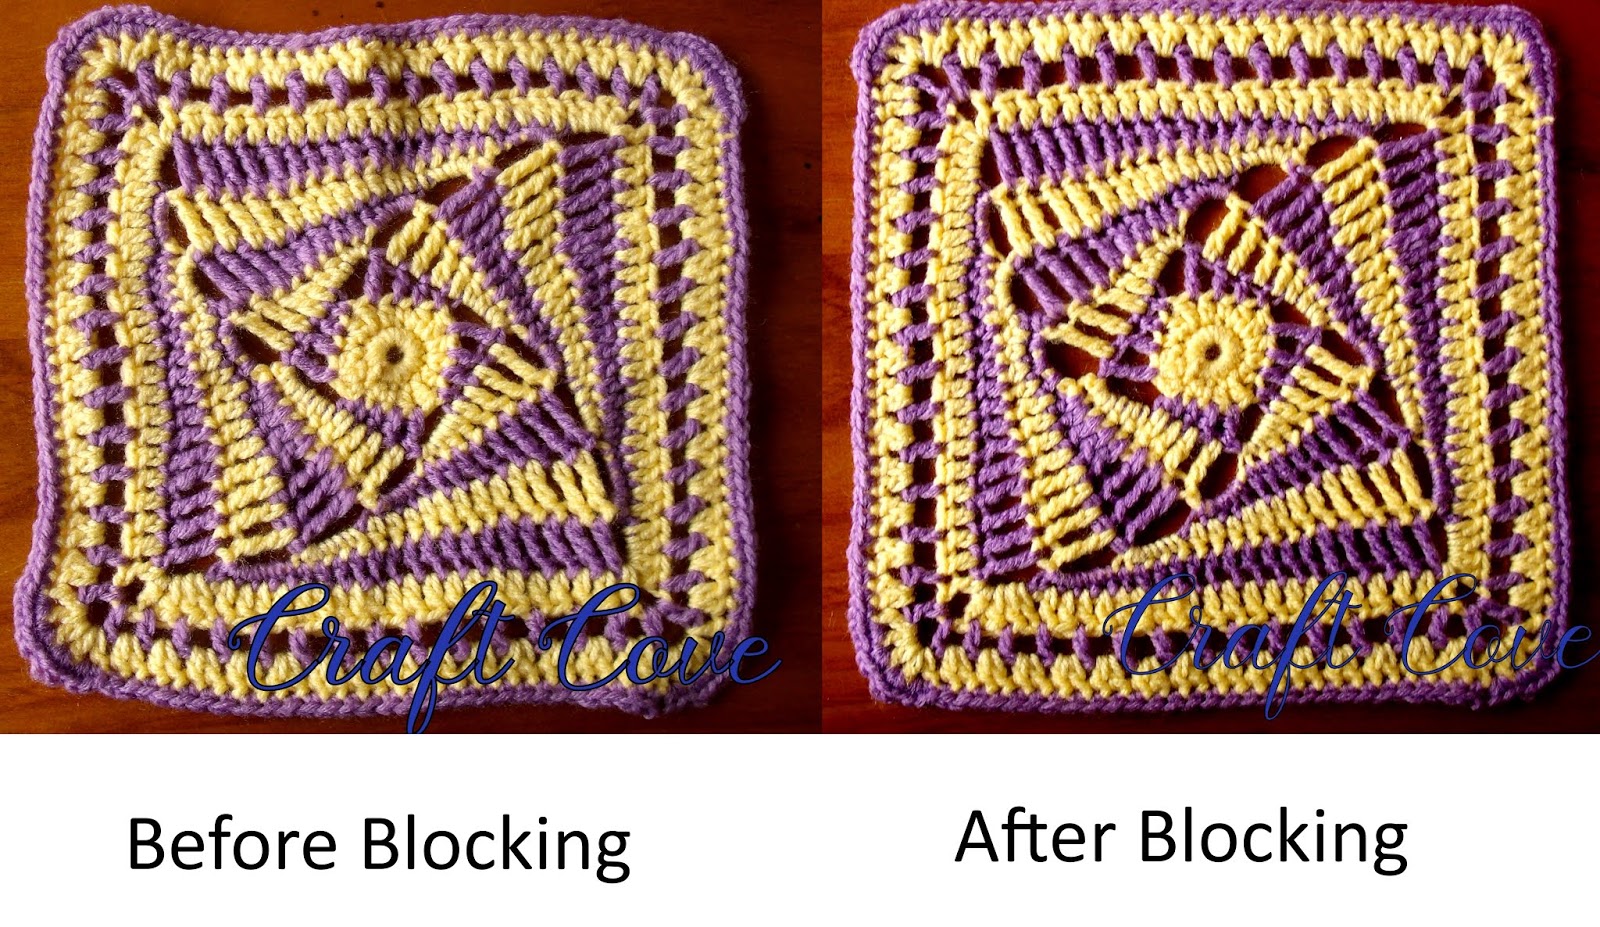
Blocking is a term used to describe
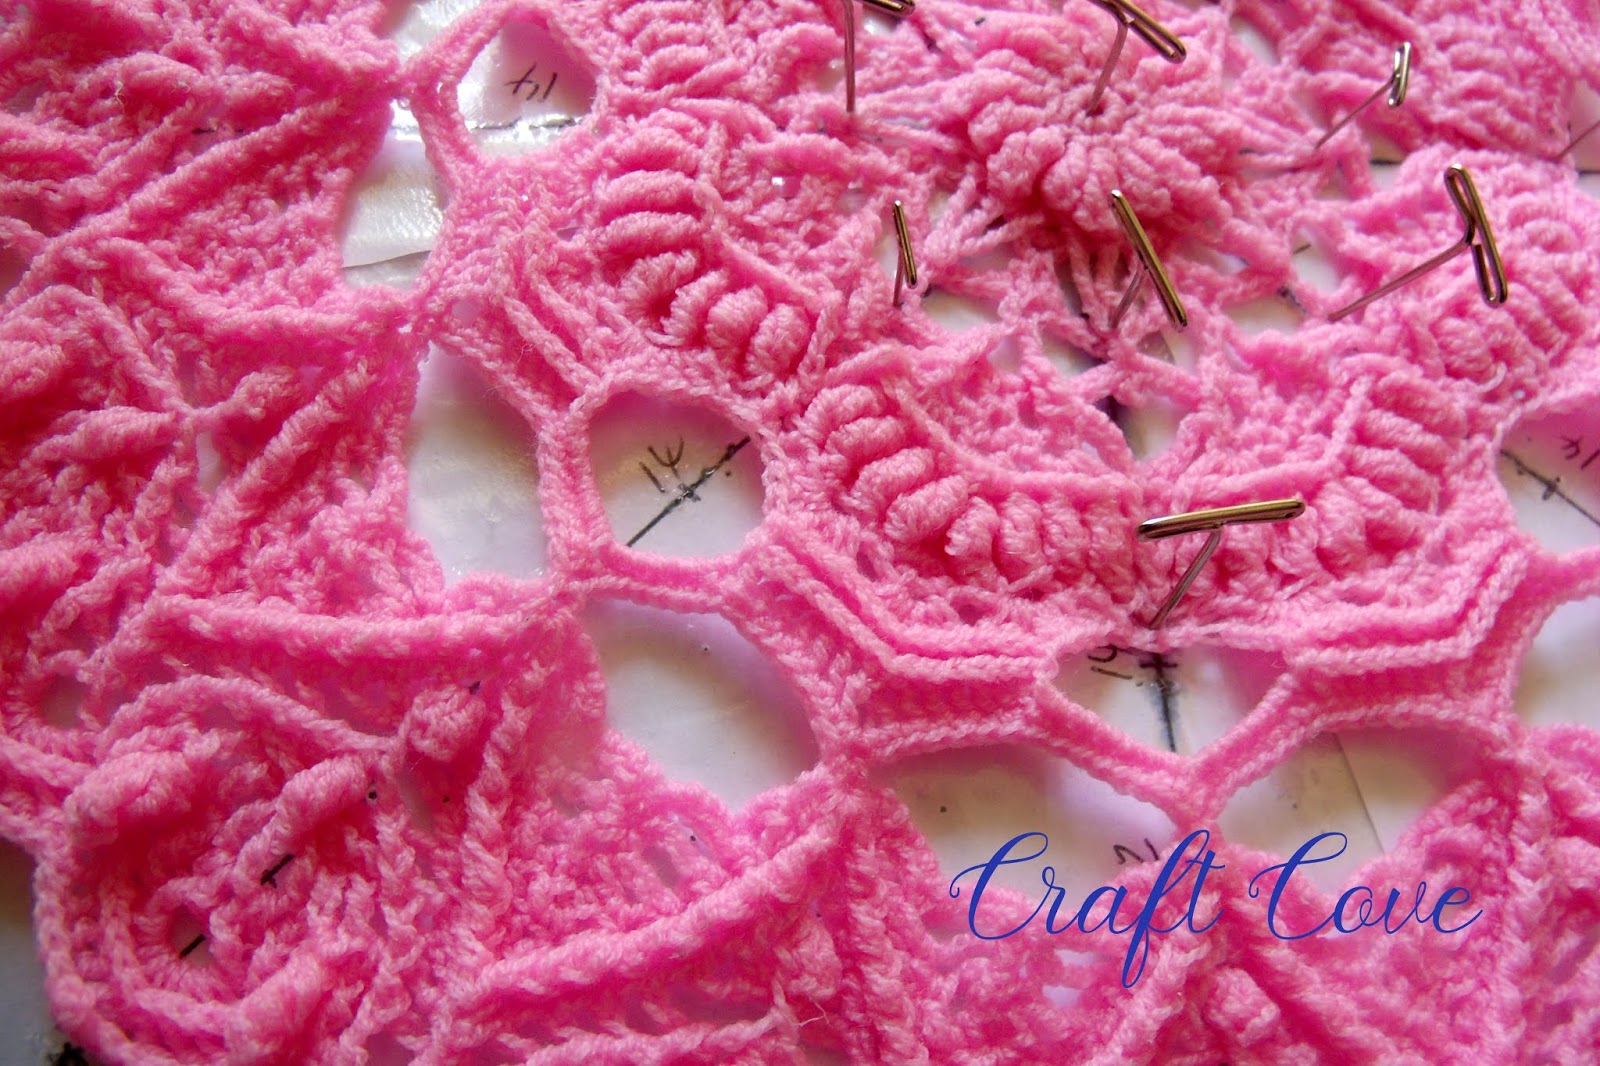
the process of pinning the crochet out to the proper shape and size. It separates the stitches and relaxes them into shape.
I have been crocheting for close to 50 years (at the time of writing this), and these are some of the ways I do it
Blocking is great for all fibres, but acrylic will need heat. I prefer to wet and pin and steam it. It also softens the fibres
Blocking is great for all fibres, but acrylic will need heat. I prefer to wet and pin and steam it. It also softens the fibres
See FAQs for more information (coming soon)
Tools
required
- something firm that pins can be pinned into
- rust-proof pins
- spray bottle
- towels or plastic
- measuring tape
- optional, steam iron or steamer
- optional, blocking templates
Method
The first step is to sew in all loose
ends of the crochet item
Then you need to choose your blocking
mat. (see FAQs for ideas)
Make sure you have one large enough to
lay your item flat
Now is a good opportunity to wash your
crochet item if desired, and rinse well
If not, decide whether you want to do
a dry steam block or wet block, or spay only
For wet blocking only. Submerge the
item fully, and soak for several minutes.
Remove and squeeze well. Do not wring
Roll into a towel, and press to remove
more moisture
Blocking
square or rectangle items


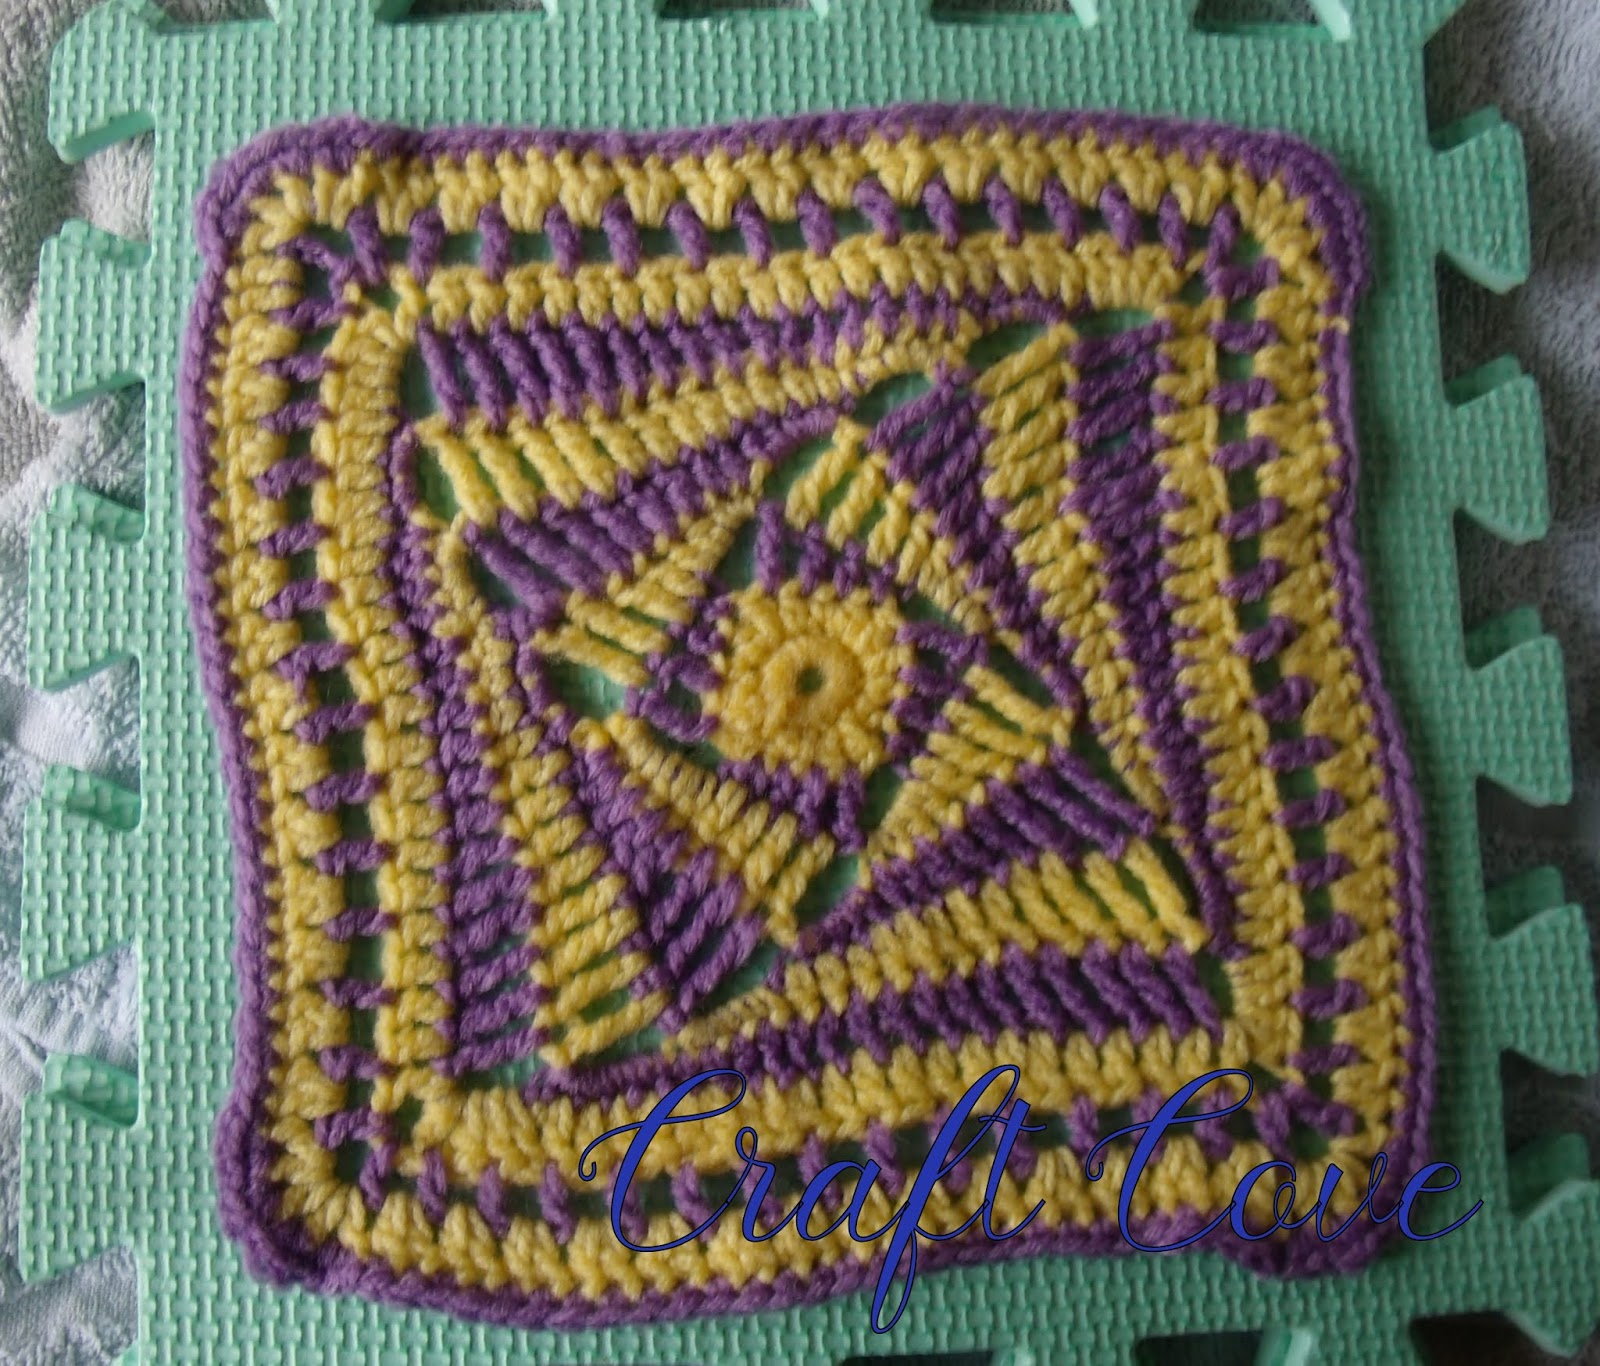
Line up and pin along one edge, not stretching but pull slightly to spread stitches

Measure the edge, and pull the left
side down to match the measurement.
If you have a grid you can easily line it up. Do the same with the bottom and side of the item


If you have a grid you can easily line it up. Do the same with the bottom and side of the item
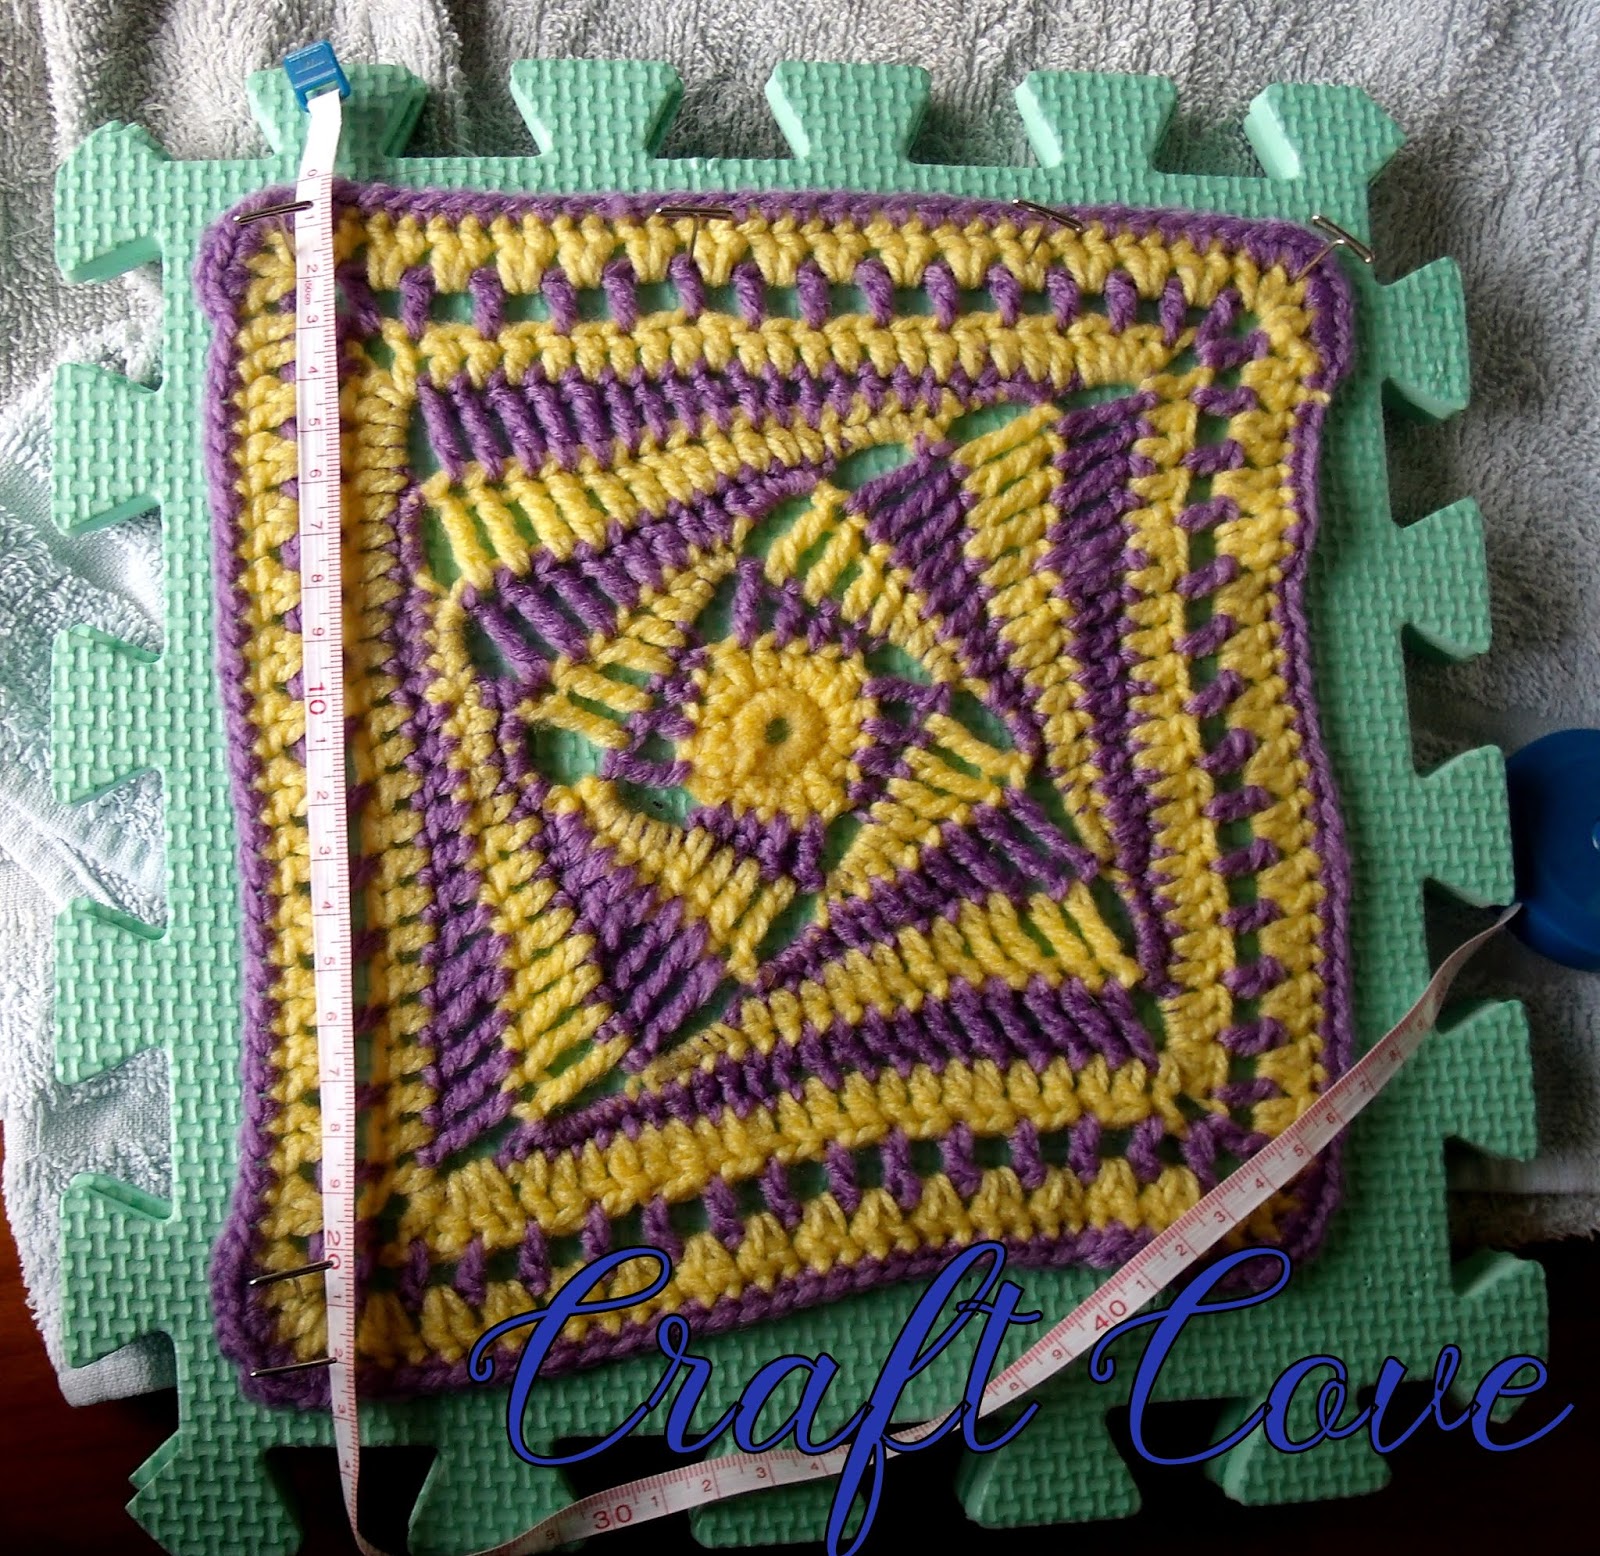

Remove pins, and repin as needed until
every edge measures the same
Push the crochet across, rather than stretch with pins


Push the crochet across, rather than stretch with pins


Be sure to use a lot of pins on the
outside edge, or pin in a row very close to the edge instead of the
last row.
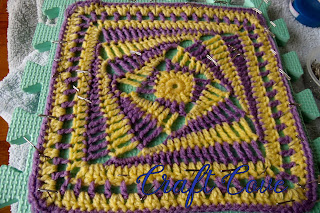

Don’t pull pins in the last row too much, avoiding a scalloped edge


Don’t pull pins in the last row too much, avoiding a scalloped edge
 |
| Be careful not to get the scalloped edge |
 |
| Finished |
Blocking
circles and snowflakes

I like the ones from here: http://katecrochets.blogspot.com/2006/11/blocking-guides-for-doilies-and.html
Some people just stretch the outer edge, this just stretches the stitches, and may make the work uneven. It's a much better idea to put pins in at regular intervals
Line up the center of the wet or dry
item with the center of the template or board. Pin it in the center


Decide on a row of the
doily close to the center. Line up with the spokes of the template. Push it towards the
outside, pin.


Line up another spoke with the same
row of crochet, pin again


Do this all the way around.

Then decide on another row, and repeat the process


Continue until you reach the edge of
the crochet item
Have a close look at the item, to see if everything is even, and if any more pins are needed
Have a close look at the item, to see if everything is even, and if any more pins are needed
Be sure to use a lot of pins on the
outside edge, or pin in a row very close to the edge instead of the
last row. Don’t pull pins in the last row too much, avoiding a
scalloped edge
If you choose to spray block, spray
all over, making it slightly damp and then leave it somewhere to dry
thoroughly
Steaming
All Shapes
Now you can either spray with water
till damp and then steam the item, or just steam on the dry item
To steam, use a steamer, or iron on
highest setting with steam selected
Hold the iron or steamer about 5 cm
away from item, and hold for 10 -15 seconds in each section before
going to another. Do not touch the iron to the item
Until the whole item has been steamed
Leave the item in an airy place until
cold and fully dry, possibly more than one day
When fully dry remove the pins
And it's done


Have a question? It might be answered here. https://craftcove.blogspot.com/2019/01/blocking-faq.html


